


Calibration Protocols for Laboratory Balances – Best Practices
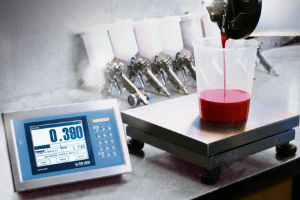
In a lab setting, ensuring the precision of your measurements relies heavily on properly calibrated balances. This blog post will guide you through the best practices for calibrating and maintaining your laboratory balances to ensure accurate results every time.
What is calibration?
Calibration is the process of verifying and adjusting a scale or balance to ensure its readings align with known standards. Regular calibration is important for labs, as even minor deviations can significantly impact results.
How often should you calibrate?
The frequency of calibration depends on several things, including:
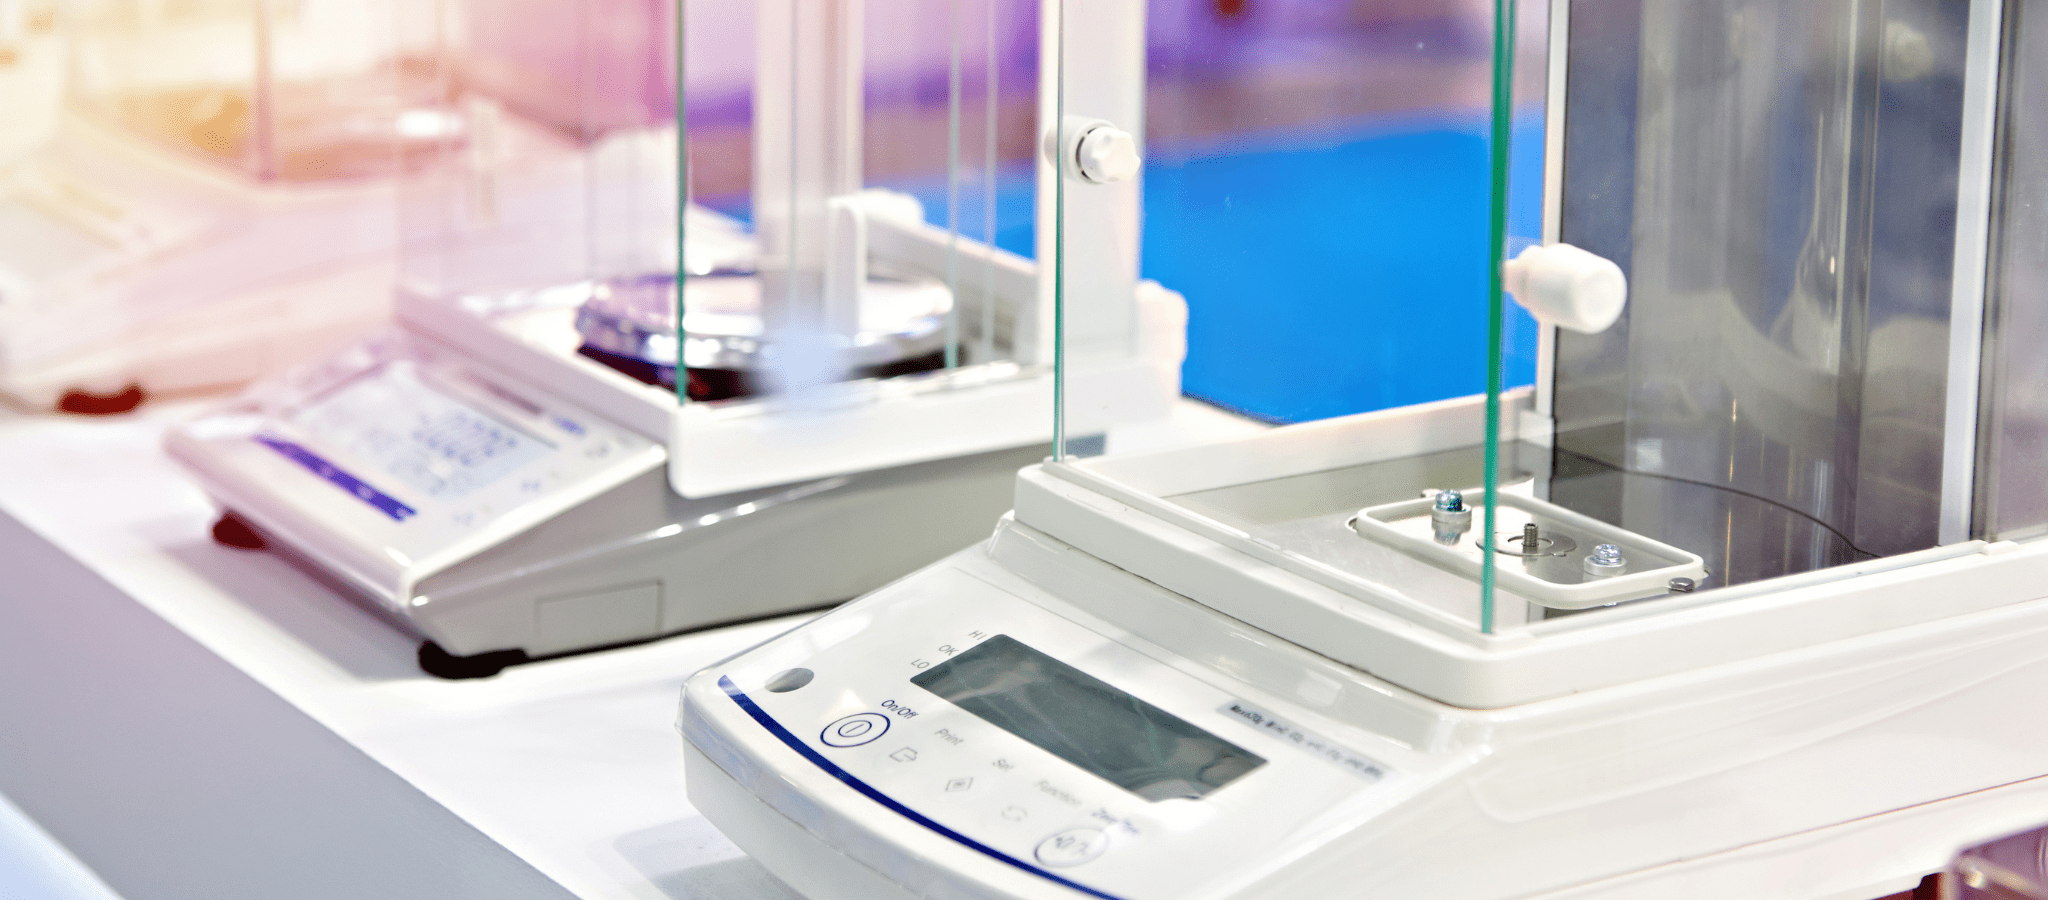
- Balance type: analytical balances, used for very precise readings, require more frequent calibration compared to top-loading balances
- Usage: balances that are used frequently need calibration more often than those used infrequently
- Accuracy: if your work demands extremely high precision, you might need to calibrate your machines more often
A good rule of thumb is to consult the manufacturer’s recommendations and develop a routine calibration schedule to stick to. Generally, calibrations are recommended every 6 months to a year. However, some balances may require adjustments more often.
Preparing for calibration
Before calibration, ensure your balance is in good condition:
- Cleanliness: remove any dirt or debris from the weighing pan and surrounding areas
- Levelling: if your balance has a level indicator, use it to check the balance is level for accurate readings
- Environmental factors: put the balance on a stable surface in a location that is devoid of drafts, vibrations, and temperature fluctuations
- Warm-up: allow the balance to warm up for at least 30 minutes before calibration
Calibration procedure (general guidelines)
It’s important to note that specific calibration procedures will vary depending on your balance model. Always refer to the manufacturer’s instructions for detailed steps.
Here’s a general outline of the calibration process:
- Gather calibration weights: use certified calibration weights with a known mass that covers the weighing range you typically use
- Access the calibration mode: review your manual for instructions on entering the calibration mode on your machine
- Place calibration weight: carefully place the first calibration weight on the centre of the pan and record the displayed weight
- Adjustment (if applicable): if there’s a discrepancy between the displayed weight and the weight of the calibration weight, some balances allow for internal adjustments. Refer to the manual for calibration adjustment procedures specific to your balance.
- Repeat: repeat steps 3 and 4 for each calibration weight you’re using
- Exit: once all weights have been used, follow the manufacturer’s instructions to exit calibration mode
Maintaining accuracy between calibrations
- Regular cleaning: maintain a clean working environment and regularly clean the balance pan and weighing chamber
- Careful handling: avoid overloading the balance or exposing it to shocks and vibrations
- Environmental control: keep the balance in a stable environment with minimal drafts and changes in temp
- Calibration records: keep a record of calibration dates, weights used, and any adjustments made
Additional considerations
- Internal vs. external calibration: some balances have internal calibration features, while others require external calibration weights. Determine the type of calibration your balance requires.
- Accredited calibration services: for critical applications demanding the highest level of accuracy, consider accredited calibration services from a qualified provider. Companies such as MWS can provide calibration services to ensure your equipment is meeting stringent guidelines and is working to its full potential, with fully traceable calibration certificates.
By following these best practices, you will keep your machines in good working health for a long time to come.